Installationanleitung 2
- The first thing to do is open a command line on your Ubuntu system and execute the following
snapcommand to install MicroK8s:sudo snap install microk8s --classic - Then, execute the following commands to configure Ubuntu’s ufw firewall to allow communication between the Kubernetes pods and traffic to and from the internet to pods.
sudo ufw allow in on cni0 sudo ufw allow out on cni0 sudo ufw default allow routed - Next, add your current user to the MicroK8s user group so you have access to all of the necessary commands:
sudo usermod -a -G microk8s $USER sudo mkdir ~/.kube && sudo chown -R $USER ~/.kube sudo newgrp microk8s - The MicroK8s deployment only has the essential elements enabled out of the box. You can see a full list with the following command:
microk8s status - You can enable any number of needed services with the following commands. Enable all of the services that you will need:
$ microk8s enable dns
$ microk8s enable dashboard
$ microk8s enable storage
$ microk8s enable ingress
$ microk8s enable gpu
$ microk8s enable istio
$ microk8s enable registry
To disable any of these services later, just issue the same command but replace
enablewithdisable:$ microk8s disable dns
- You can see the status of your services with the following command. They are ready to go once they switch to the ‘Running’ status:
$ microk8s kubectl get all --all-namespaces

Checking the status of services in MicroK8s on Ubuntu Linux - As we can see in the screenshot above, our Cluster IP Kubernetes dashboard is
10.152.183.38but yours might be different, so be sure to check. We can now navigate to this address in our browser to access the web based dashboard.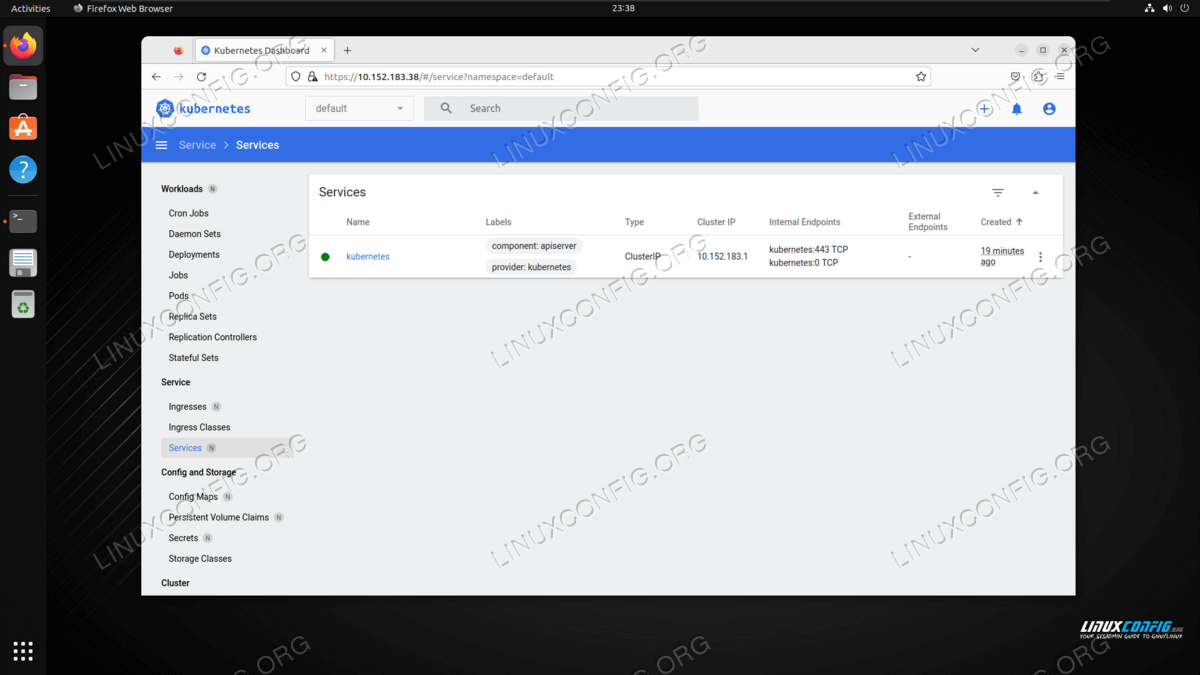
Accessing the MicroK8s web based dashboard in Firefox - To log in to the web based dashboard, generate a token with the following commands, and then paste it into login prompt in Firefox.
$ token=$(microk8s kubectl -n kube-system get secret | grep default-token | cut -d " " -f1)
$ microk8s kubectl -n kube-system describe secret $token
- You can now get started with deploying your containerized application, or follow along with the three commands below to deploy, and expose a microbot service as an example and proof of concept:
$ microk8s kubectl create deployment microbot --image=dontrebootme/microbot:v1
$ microk8s kubectl scale deployment microbot --replicas=2
$ microk8s kubectl expose deployment microbot --type=NodePort --port=80 --name=microbot-service
- You will see your new deployment in the output when executing:
$ microk8s kubectl get all --all-namespaces
- To see all of the other MicroK8s commands available, you can use the
-hoption and view a full list:$ microk8s -h
- If, after your testing, you need to get rid of MicroK8s, you can execute:
$ microk8s stop
$ sudo snap remove microk8s
No Comments