How to install Cockpit
How to install Cockpit
Log into your Ubuntu Server instance and issue the command:
sudo apt-get install cockpit -y
Once the installation completes, start and enable Cockpit with:
sudo systemctl enable --now cockpit.socket
Now that Cockpit is installed and running, you can log in. However, depending on how your system is set up, you’ll want to make sure the user you log into Cockpit with has sudo privileges. For that, you would issue the command:
sudo usermod -aG sudo USER
Where USER is the name of the user in question.
Just for fun, we’ll add container support to our instance just to show how easy it is. From the terminal window, issue the command:
sudo apt-get install podman cockpit-podman -y
Start and enable Podman with:
sudo systemctl enable --now podman
How to log into Cockpit
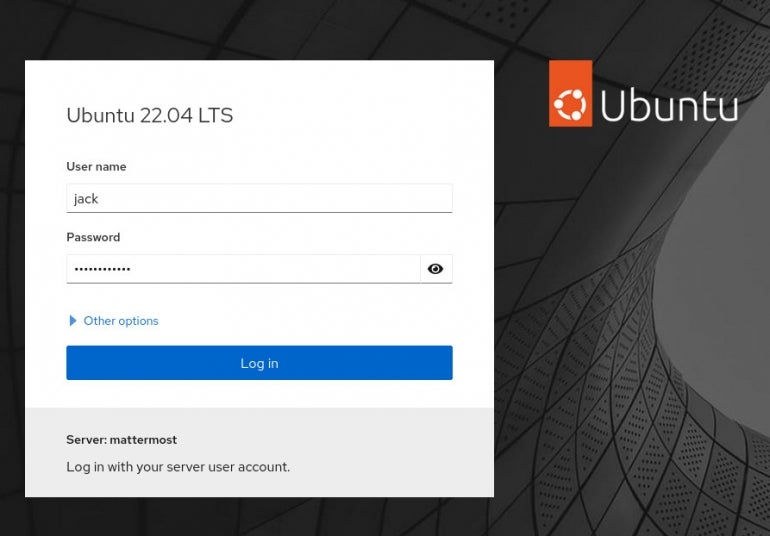
Open a web browser and point it to https://SERVER:9090. You should be greeted by the login screen (Figure A).
Figure A
If you find that the firewall isn’t allowing you through, but you can enable the correct port with the following:
sudo ufw allow 9090
Upon logging in, you will see that the web console is running in limited access mode (Figure B).
Figure B
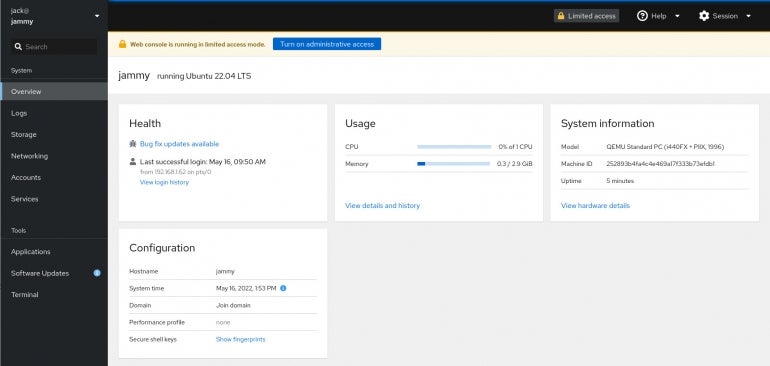
We need to grant heightened access to our user.
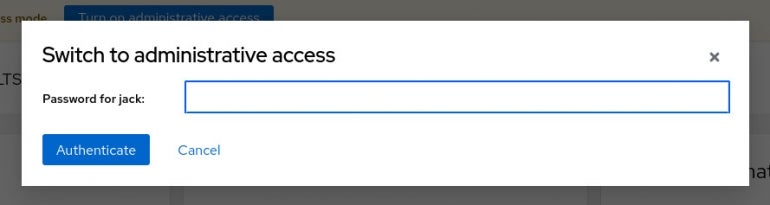
Click Turn On Administrative Access. Then, when prompted (Figure C), type your user’s password to grant administrative access.
Figure C
No Comments